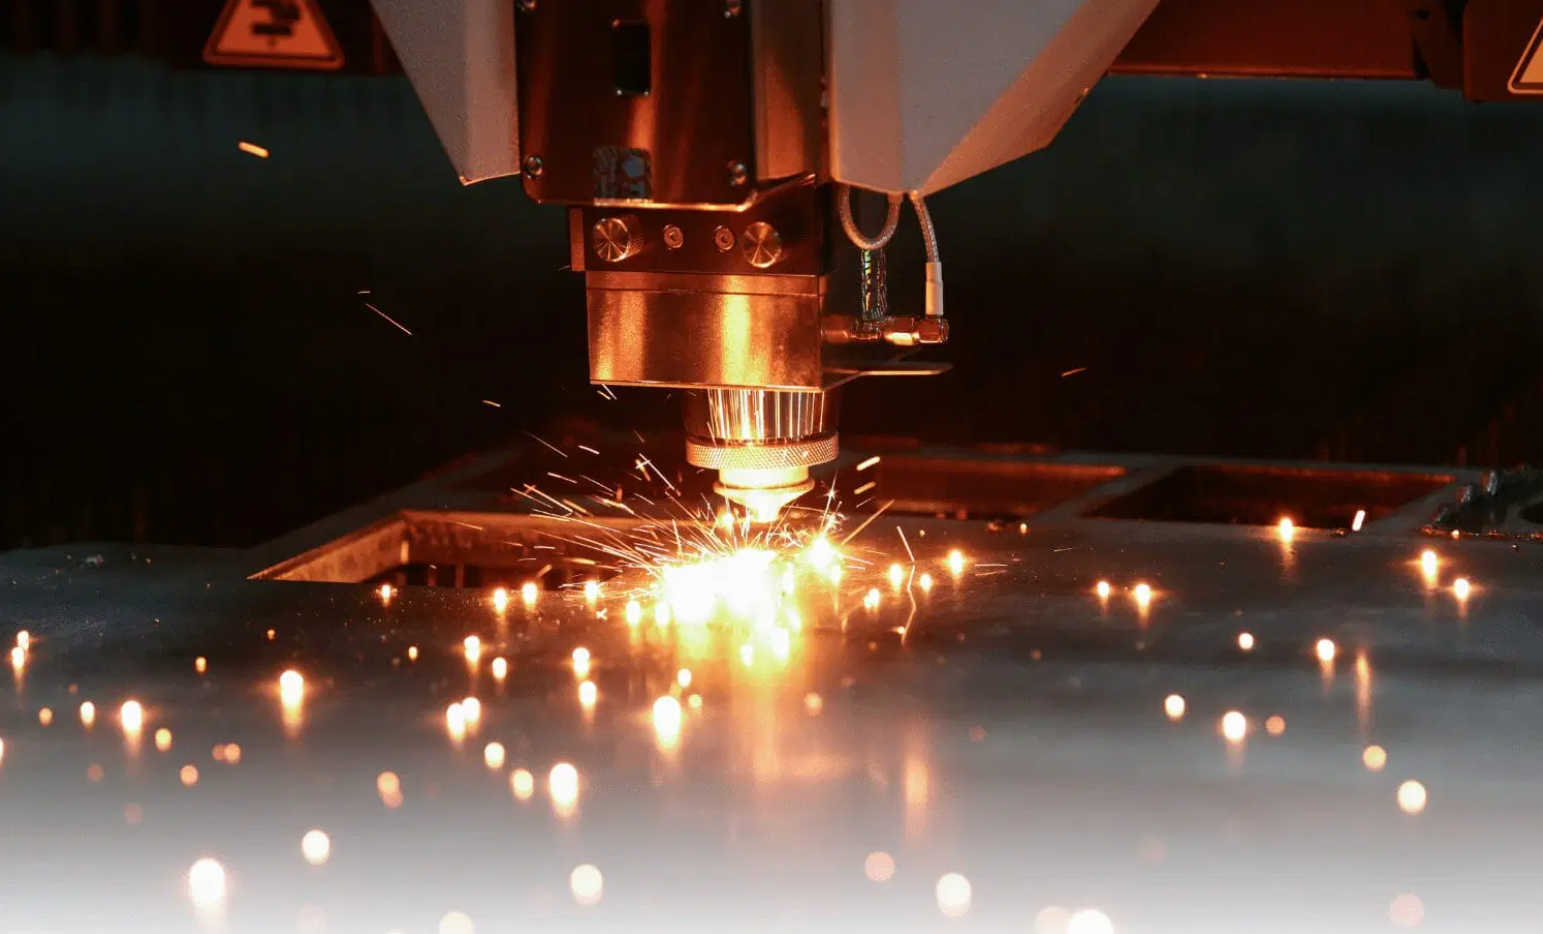
CNC Machining Surface Finish | Why They Matter Beyond Appearance

- December 10, 2024

Contents
- Key Takeaways
- What is Surface Roughness in CNC Machining?
- Key Roughness Parameters:
- Surface Roughness by Process:
- How is Surface Finish Measured in CNC Machining?
- SPI and VDI Finish Standards: What are They?
- SPI Finish Grades:
- VDI Finish Grades:
- What is an As-Machined Finish?
- Surface Finishing Options for CNC Machining
- Common Surface Finishing Methods:
- Choosing the Right Surface Finish for Your CNC Machining Project
- Surface Finish Selection for Different Applications:
- Best Practices for Achieving the Desired Surface Finish in CNC Machining
- Surface Roughness in Different Materials: Considerations for CNC Machining
- Ruixi Technology: Premium Surface Finishing
- CNC Machining Surface Finish FAQs
- What is the machining process for surface finish?
- What is 3.2 surface finish?
- How to get a better surface finish in machining?
Surface finish in CNC machining affects far more than just how a part looks—it directly impacts how components perform, how long they last, and whether they function properly in their application. A bearing surface with the wrong finish wears prematurely. Sealing surfaces with excessive roughness can leak. Parts subject to cyclic loading can develop fatigue cracks starting at surface imperfections. Understanding surface finish isn’t optional knowledge for engineers and manufacturers—it’s essential for producing components that actually work as designed.
The right surface finish depends entirely on what the part needs to do. Sometimes you want a smooth surface for low friction and good sealing. Other applications require textured finishes that hold lubricant or improve adhesion. Critical is understanding surface roughness parameters, the machining techniques that achieve different finishes, and how to specify finishes that balance performance requirements with manufacturing efficiency. This guide breaks down the different surface finishes available in CNC machining, explains what the roughness measurements actually mean, covers techniques for improving finishes when needed, and helps you choose appropriate finishes for your components without over-specifying (which just increases costs without improving function).
Key Takeaways
- Surface finish describes the texture and quality of a machined part’s surface—it’s not just cosmetic, but directly affects how components function, how long they last, and whether they perform as designed
- Ra (average roughness) is the standard measurement you’ll see on drawings, quantifying surface irregularities in microinches or micrometers so manufacturers know what finish to achieve
- Various finishing methods like electroplating, laser polishing, and shot peening improve surface characteristics beyond what machining alone delivers—each technique serves specific purposes for enhancing durability or function
- Your machining process and material choice fundamentally determine what surface finishes are achievable and economical—some operations naturally produce smoother surfaces than others
- Surface finish charts and roughness profiles are practical tools for specifying appropriate finishes without over-engineering—they show what different Ra values look like and which applications need which finishes
What is Surface Roughness in CNC Machining?
Surface roughness is the measure of surface irregularities on a part after machining, commonly referred to as surface texture. The most widely used parameter to define surface roughness is Ra, or average roughness, which measures the average height of surface deviations. Other important measurements include Rz (mean roughness depth) and Rt (total roughness), which assess extreme variations in surface height.
Understanding these values is crucial in selecting the appropriate machining surface finish for your project. For instance, 0.8 µm Ra surface roughness is typically associated with high-precision applications where a smoother finish is required.
Key Roughness Parameters:
- Ra (Roughness Average): The most common roughness parameter used to measure surface irregularities.
- Rz (Mean Roughness Depth): Sensitive to extreme peaks and valleys, providing a more detailed roughness profile.
- Rt (Total Roughness): The distance from the highest peak to the lowest valley across the surface.
- Rq (Root Mean Square Roughness): Gives more weight to large deviations, useful for surfaces with significant variations.
Surface Roughness by Process:
| Machining Process | Ra (μm) | Rz (μm) |
|---|---|---|
| Rough turning/milling | 6.3–12.5 | 25–50 |
| General finishing | 3.2 | 12.5 |
| Precision turning/boring | 1.6 | 6.3 |
| Fine grinding | 0.8 | 3.0 |
| Lapping | 0.05–0.2 | 0.2–0.3 |
How is Surface Finish Measured in CNC Machining?
Surface finish is often measured using profilometers, which can be either contact (stylus-based) or non-contact (optical) devices. Ra values and other parameters are calculated based on the roughness profile created by these devices. Stylus profilometers work by moving a diamond-tipped stylus across the surface and recording vertical displacements, while optical methods like interferometry or confocal microscopy offer non-contact measurement, suitable for delicate surfaces.
By measuring surface irregularities, manufacturers can identify the level of surface roughness and make necessary adjustments in the machining process or apply secondary surface finishing techniques.
SPI and VDI Finish Standards: What are They?
Standards like SPI (Society of the Plastics Industry) and VDI (Association of German Engineers) play a key role in defining surface roughness in CNC machining. These standards provide clear surface finish symbols that help manufacturers communicate finish requirements effectively.
SPI Finish Grades:
| Grade | Description | Surface Roughness (Ra) |
|---|---|---|
| A1 | Super High Glossy | 0.012–0.025 μm |
| B1 | Fine Semi-glossy | 0.05–0.10 μm |
| C3 | Normal Matte | 0.63–0.70 μm |
VDI Finish Grades:
| VDI Grade | Surface Roughness (Ra) | Description |
|---|---|---|
| VDI 12 | 0.40 μm | Equivalent to SPI C1 |
| VDI 27 | 2.24 μm | Dull finish |
| VDI 45 | 18.00 μm | Very rough finish |
These surface finish charts help ensure machining surface finishes meet the requirements of various industries, from medical devices to aerospace.
What is an As-Machined Finish?
An as-machined finish is the default surface quality produced by CNC machining without any additional finishing steps. It typically features visible tool marks and may have a Ra surface value ranging from 1.6 μm to 3.2 μm, making it ideal for internal components or parts where appearance is not critical. While as-machined surfaces may not meet aesthetic requirements, they often provide excellent functional performance.
Surface Finishing Options for CNC Machining
After machining, parts can undergo a variety of surface finishing treatments to improve properties like fatigue resistance, corrosion resistance, and appearance.
Common Surface Finishing Methods:
- Shot Peening: Increases material fatigue strength by bombarding the surface with small spheres, which creates a uniform, slightly textured surface.
- Electroplating: Deposits a thin metal coating onto a substrate to increase wear resistance and corrosion protection.
- Electropolishing: A process that smooths and passivates metal surfaces, improving corrosion resistance.
- Passivation: Removes contaminants and creates a protective oxide layer on metals like stainless steel, increasing corrosion resistance.
- Powder Coating: A dry powder coating that provides excellent durability and corrosion resistance.
- Laser Polishing: Uses a laser beam to melt and smooth the surface, achieving a high-quality finish on complex geometries.
Choosing the Right Surface Finish for Your CNC Machining Project
Selecting the correct surface finish depends on the machining process, material, and the part’s intended function. For instance:
- As-machined finishes are suitable for functional prototypes or non-aesthetic parts that require minimal roughness.
- Polishing or laser polishing is ideal for parts that need a smooth surface and reflective finish.
- Electroplating is preferred for parts requiring wear resistance, while powder coating provides a durable finish for outdoor applications.
Surface Finish Selection for Different Applications:
| Application | Ideal Surface Finish |
|---|---|
| Aerospace | Precision turning, electropolishing |
| Automotive | Powder coating, electroplating |
| Medical Devices | Electropolishing, passivation |
| Consumer Products | Polishing, laser polishing |
For automotive surfaces using ISO 4287, a Surface Metrology Guide (Digital Surf) explains that engineers often use Rdc(2–98%) and Rdc(1–33%) to describe the useful height range of the surface, linking these bands to running‑in behaviour and lubricant pocket capacity.
Best Practices for Achieving the Desired Surface Finish in CNC Machining
Achieving the ideal surface finish in CNC machining requires attention to detail and the right approach. The following best practices can help ensure that your machining process delivers high-quality results:
- Optimize machining parameters: Adjust cutting speed, feed rate, and depth of cut based on the material and the desired finish. Faster cutting speeds generally result in smoother surfaces.
- Use sharp tools: Dull cutting tools increase friction, leading to higher surface roughness. Regularly replacing or sharpening tools can help maintain a smooth surface.
- Minimize vibration: Vibrations in the machine can cause waviness and increase surface irregularities. Use rigid tooling and secure fixtures to reduce vibration.
- Control coolant flow: Adequate coolant helps reduce heat buildup, preventing tool wear and maintaining surface quality. The right coolant pressure can improve finish quality and extend tool life.
By focusing on these practices, you can ensure that the final surface profile meets your project’s specifications and that the surface roughness values are minimized, leading to higher precision and part longevity.
Surface Roughness in Different Materials: Considerations for CNC Machining
The material being machined plays a significant role in determining the final surface roughness. Different materials respond uniquely to machining processes, so it’s crucial to understand how each material behaves during CNC machining.
- Stainless Steel: Stainless steel often requires fine grinding or electropolishing to achieve a smooth surface finish due to its hardness. The Ra surface finish typically ranges from 0.8 μm for polished parts to 3.2 μm for more functional components.
- Aluminum: Aluminum is softer than steel and can easily develop surface roughness. For a smoother finish, anodizing or bead blasting is commonly used to improve corrosion resistance while refining the texture.
- Titanium: Due to its strength and hardness, titanium requires careful control of cutting parameters to avoid excessive tool wear. Typically, titanium parts are finished with polishing or passivation to enhance both appearance and performance.
- Plastics: In CNC machining of plastics, achieving a smooth surface can be challenging due to the material’s tendency to melt and deform. Surface finish parameters like Ra values may not be as low as metal parts, but processes such as vapor smoothing can improve the texture of a surface.
Ruixi Technology: Premium Surface Finishing
Achieving the right surface finish in CNC machining is crucial to ensuring your part performs as intended. By understanding surface roughness parameters and the various finishing techniques, manufacturers can select the optimal process to enhance the machining surface finish. At Ruixi Technology, we specialize in delivering customized surface finishes that meet the highest standards. Contact us today to get expert guidance on selecting the right surface finish for your project.
CNC Machining Surface Finish FAQs
What is the machining process for surface finish?
The machining process for surface finish involves the CNC machine shaping the material. Various techniques like turning, milling, and grinding create a specific roughness profile, and additional surface finishing processes like polishing or electroplating refine the finish further.
What is 3.2 surface finish?
A 3.2 surface finish refers to an Ra value of 3.2 μm, commonly used for functional parts where a higher level of roughness is acceptable but a smooth finish is not necessary. It is commonly used in engineering applications that do not require cosmetic finishes.
How to get a better surface finish in machining?
To achieve a better surface finish, optimize machining parameters like feed rates and tool sharpness, and apply secondary surface finishing techniques such as polishing, shot peening, or electropolishing. Proper machine setup and tool maintenance also play key roles in improving the final surface texture.
Back to Top: CNC Machining Surface Finish | Why They Matter Beyond Appearance
PrevPreviousWhat is Steel | Definition, Properties, and Composition Explained
NextWhat is CNC Roughing? Meaning & ProcessNext

 CNC MACHINING SERVICES